Skip to Content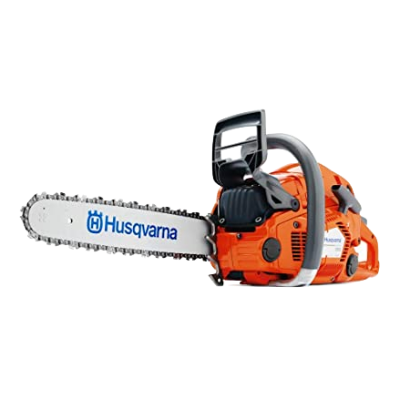
Petrol Chainsaw support
How to: adjust the tension of the saw chain
To adjust the tension of the saw chain
⚠️WARNING: A saw chain with incorrect tension can come loose from the guide bar and cause serious injury or death.
⚠️WARNING: Turn the saw off.
⚠️WARNING: Wear gloves to protect your hands from the sharp chain.
Allow the chain to cool before adjusting. A hot chain expands and will tighten as it cools.
1. Loosen the Chain Brake
Make sure the chain brake is not activated.
2. Loosen the Bar Nuts
Use a combination wrench (scrench) to loosen the two bar nuts on the side cover.
Do not remove them—loosen just enough so the guide bar can move slightly.
3. Locate the Chain Tensioner
The position varies by model:
Front tensioner – located at the front of the saw
Side tensioner– located beside the bar nuts
Tool-less tensioner – a large dial adjusted by hand.
All types perform the same function.
4. Adjust the chain tension
Turn the tensioning screw:
Clockwise to tighten
Counter-clockwise to loosen
Adjust until the chain:
Sits snugly against the underside of the bar
Moves freely by hand (wear gloves)
Has no visible slack
Snaps back into place when lifted and released
As a guide, you should be able to lift the chain slightly at the centre of the bar and see only a small portion of the drive links without pulling them fully out of the groove.
5. Lift the Bar Nose and Tighten
While tightening the bar nuts, lift the tip of the guide bar upward.
This helps maintain correct tension during operation.Tighten both nuts firmly using normal wrench pressure.
6. Recheck the Tension
After tightening:
Pull the chain by hand to ensure smooth movement
If too tight, loosen slightly and readjust
If too loose, tighten again
7. After Initial Use
New or recently adjusted chains can stretch quickly.
Check and adjust tension again after 1–2 minutes of cutting.
A properly tensioned chain improves safety and performance as well as wear on the cutting equipment and the chainsaw itself.
⚠️NOTE: Some Husqvarna chainsaws have a non- adjustable oiler.
On this page